
SOIL
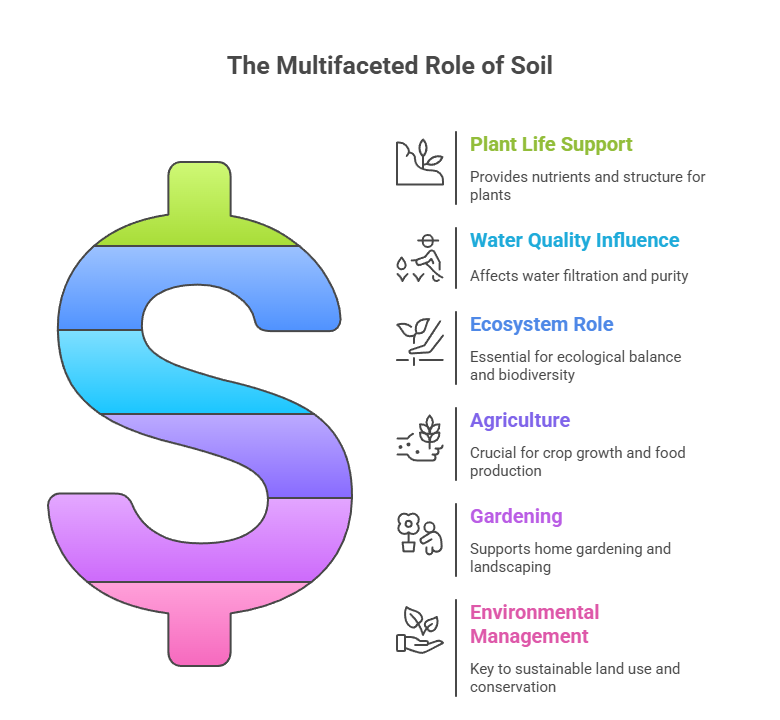
Soil is essentially a solid matrix that holds nutrients and water for the plant, helping it to grow. So, the perfect soil is one that has all the relevant nutrients to support plant growth and provide the apt amount of moisture for it. Regular soil that you find in your backyard may
be perfect or could be made perfect with some help. This ‘help’ could be in the form of additional nutrients, water drainage or retention. However, before we get there, as with previous resources, let’s start by classifying soil types and understanding their properties. I find it most useful to do so on the basis of its colour (applicable for the Indian subcontinent).
Types of Soil
Reddish Brown Soil: Rich in iron.
Commonly Found In: Kerala, Tamil Nadu, Madhya Pradesh, Goa, Andhra Pradesh, Karnataka, Assam and parts of Odisha
Water Drainage: Medium
Nutrient Level: Low
This soil is also known as laterite soil.
Grey Soil: Deprived in organic matter and key minerals.
Commonly Found In: Punjab, Haryana, Delhi, Uttar Pradesh
Water Drainage: Medium
Nutrient Level: Low
This type of soil is also referred to as alluvial soil
Black Soil: Rich in clay, organic matter, iron and aluminium compounds.
Commonly Found In: Maharashtra, Madhya Pradesh, Tamil Nadu, parts of Gujarat and Andhra Pradesh
Water Drainage: Low
Nutrient Level: High
Red and Yellow Soil: Contains a mixture of iron and metamorphic rocks.
Commonly Found In: Areas along the Western Ghats, Odisha and Chhattisgarh
Water Drainage: High
Nutrient Level: High
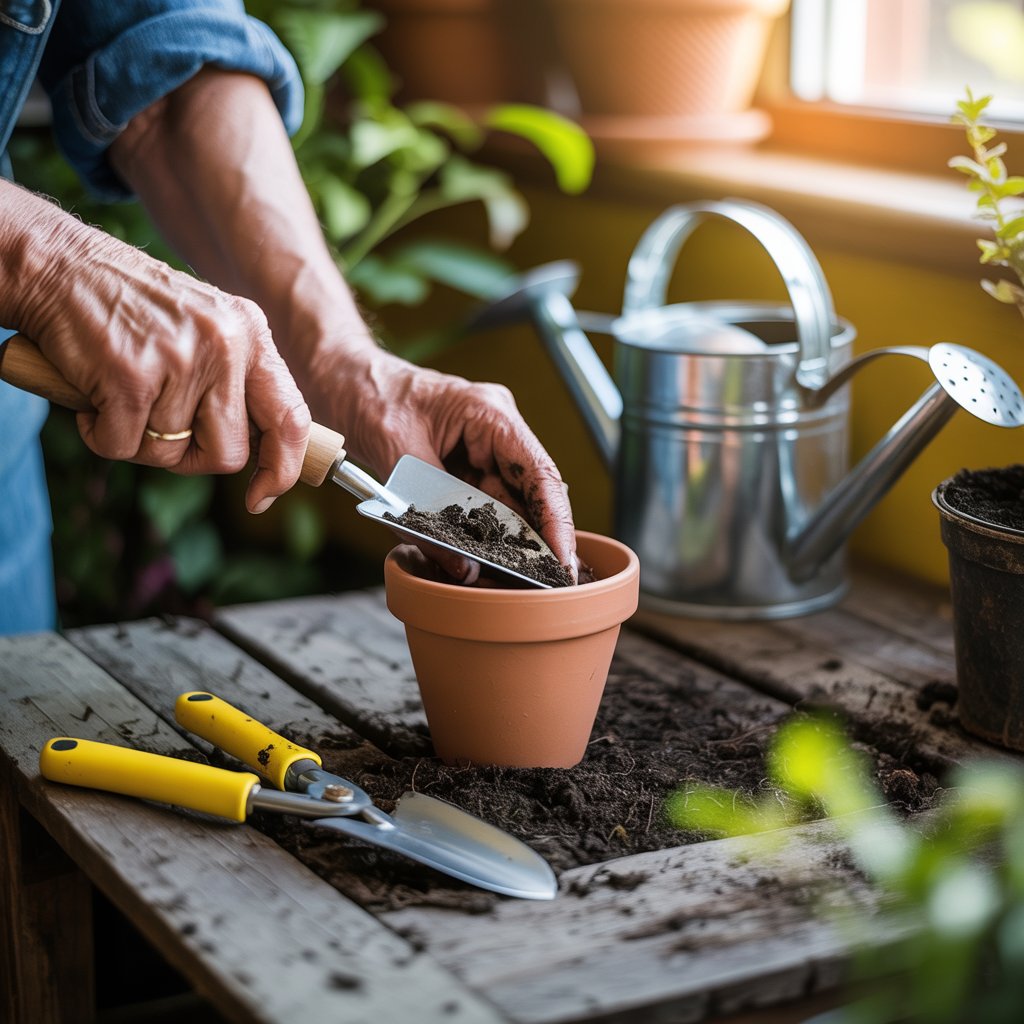
At this point, I would recommend that you step outside your house, go to a park and look closely at the soil. Chances are you won’t find perfectly yellow, grey or black soil. It will probably be a mixture. Try digging out a handful of soil with anything sharp or with your hands. Bring that home, moisten the soil with plain water (do not drench the soil, just moisten it). (see illustration below for these steps). Now try making a ball out of it with your hands. If it’s difficult to make a perfect ball and it keeps breaking, then the sand content is higher than the other contents of soil such as silt and clay. However, you can make a perfect ball, that means your soil is clayey or silty. Then, further roll this ball into a snake- like shape. If you can roll out a snake-like shape without any cracks, your soil is high in clay, but if it breaks in
between, then the silt content is higher. The purpose of this ‘back-to-childhood-days’ exercise is to help you understand the drainage and nutrient status of the soil near you. Depending on what soil you find in your area, here is what you can do to improve it:
For Better Drainage
If the water often stands above the soil in your pots, it’s a sign that the soil needs better drainage.
a. Add Perlite
Perlite is a white amorphous substance that comes out of volcanic eruptions. Chemically speaking, its tructure is similar to that of glass. It is a low-density material that will help retain air pockets in soil for several years.
How much perlite to use depends on the kind of soil you have. However, to give you an idea, for any regular outdoor garden soil in India, I recommend using a handful of perlite in a small pot (5-6-inch- deep pot) of soil.
b. Add Cocopeat
Cocopeat refers to coconut shavings that come in a compact brick form. As you add water, it can expand to over 4-5 times its volume. Cocopeat will help retain moisture in soil for long periods of time without clogging the air pockets, thereby keeping the soil less dense but moist for long. You can grow a small plant (8-12-inch foliage plant) just in cocopeat with regular input of compost, since the cocopeat will act as a substrate to hold plant roots and the compost will act as a nutrient source.
c. Add River Sand
Mix river sand with clayey soil in a 1:3 proportion. Avoid using beach sand because it contains high amounts of salts that poison some plant roots.
For making the soil nutrient-rich or to help with faster plant growth, here is what you can add.
a. Compost/Vermicompost
Fertilizer prepared from food material primarily digested by microbes is called compost, and the one digested by microbes as well as worms, such as earthworms, is called vermicompost. Although both of them are great sources of all macronutrients, vermicompost is known to be slightly richer in nutrients than compost.
b. Manure
Fertilizer prepared from cattle dung digested over time in the open is referred to as manure. Some shops also sell fresh dung, but I recommend using the decayed form because research shows that the decayed form of dung (as manure) supports better growth in plants. Additionally, manure has no foul smell unlike fresh cattle dung.
Please note that fresh manure and compost have low pH, meaning they are slightly acidic. It is important to not add fresh compost/manure immediately to the plants because not all plants can tolerate acidic soil. Allowing manure/compost to dry in the air for 2-3 days aids in increasing the pH towards neutral. Further, this helps in getting rid of unwanted insects such as spiders, beetles and worms. One can try sieving the dried compost/manure through a metal sieve with a mesh size of approximately 1-3 cm.
If all the above details on soil are confusing or too much to take in, here’s a recipe for two soil mixes that any home gardener can use for most needs.
If all the above details on soil are confusing or too much to take in, here’s a recipe for two soil mixes that any home gardener can use for most needs.
a. Regular Soil Mix
Use equal amounts of compost (for nutrition), cocopeat (for low density and moisture retainment) and regular outdoor soil (for root support).
b. Succulent Soil Mix
Use river sand or perlite (for good drainage), old compost (because plants where this soil will be used don’t need many nutrients) and regular outdoor soil (for root support) in equal quantities.
TOOLS
So far, I have introduced you to what’s necessary for any plant. This section is dedicated to explaining the basic tools that any home gardener would need or should be aware of. Technically, a plant won’t die without them, but these tools are important for many reasons, ranging from a gardener’s safety to the healthy upkeep of plants. Admittedly, I cannot cover the entire universe of tools (and their avatars), but I have tried to write this section as a glossary, keeping in mind the most common queries I receive about gardening tools on my social media handles.
1.Pots and Grow Bags
You need something to contain soil. That’s where pots come in. In the market, there are currently various options available in which to grow plants. Here’s a brief on what I think about these pots.
a. Terracotta Pots
Functionally superior and environment friendly, but short lifespan.
Terracotta pots are my favourite for two reasons. First, during extreme hot summers, the soil in terracotta pots is able to retain moisture for long, and the temperature in such pots remains lower than their closest competition, the plastic pots. Second, a terracotta pot is baked soil that can be painted every Diwali or every year, and, if it breaks, it will eventually erode to become soil.
b. Concrete Pots
Functionally superior with long lifespan, but very heavy. Concrete pots can last a little longer than a terracotta pot but are very heavy. They are a feasible option for growing plants for people who stay in self-owned homes, but not for people who stay in rental homes because moving them around can be really difficult. Just like terracotta pots, they can protect the soil from getting extremely hot during summers and also reduce the rate of evaporation, thereby helping to keep the soil moist for longer in dry seasons.
c. Plastic pots
Long lifespan and easy to move, but environmentally unfriendly.
Plastic pots are lighter in weight compared to concrete or terracotta pots. For gardeners staying in highrises and rental apartments, they are a more feasible option, especially for growing large plants. However, there are two problems with plastic pots. Apart from being an environmental problem, plastic also gets heated up fairly quickly, especially if you stay in a region that has extremely hot summers.
d. Ceramic Pots
Long lifespan and beautiful, but heavy and expensive. I recommend ceramic pots for decorative purposes. They might be heavy, they might be expensive, but the charm we can add to any space indoors with the plant is exceptional. I would personally suggest using ceramic pots for decorative purposes mostly inside your home. If the ceramic pot has a drainage hole at the bottom, you can directly start a plant in
it but if it doesn’t, you’ll have to use a second pot (with holes at the bottom) and then keep that in the ceramic pot.
e. Metal Pots
Beautiful, but corrode quickly.
Metal pots are decorative pieces that you can use to grow plants. The only problem is that due to continuous exposure to water, they may start corroding. My quick tip for using metal pots would be to first plant them in a plastic pot and then keep that inside the metal pot. This will reduce the exposure to water and enhance the life of the metal pot. They look great as hanging metal trays for balconies and railings.
f. Grow Bags
Easy to use and cheap, but these get dirty underneath. Currently, there are three kinds of grow bags in the market: one is just a plastic sleeve (which can contain the soil to grow plants), the second is an HDPE plastic grow bag (which is a thicker version of plastic sleeves
and has a longer lifespan than the regular plastic sleeve) and the third is a fabric grow bag. My personal choice is a geo fabric grow bag for two reasons. First, they can hold the structure better than any other kind of grow bags, and second, they are essentially recycled plastic which is mixed with some fabric material, thereby making them environmentally friendly.
A common problem with any pot is that as the water drains out from the drainage holes over time, it makes the concrete or the tiled floor dirty. Therefore, I recommend using a drainage plate under any kind of pot that has a drainage hole at the bottom.
Alternative: If you want to start gardening today and do not want to wait to buy a pot, you will find an alternative in your house. Essentially, anything that can hold soil with a few drainage holes at the bottom will do the job. The size depends on the plant, but right from an old bucket, a PET bottle, a kitchen matka, a paint drum, a broken coffee mug, food-delivery containers-anything can be used to grow plants. Just ensure that you make a couple of holes at the bottom to allow water to seep out. If the holes are too big, use gravel at the base of the pot to block these holes.
Pot Size
You may use any style or shape of a pot for growing any plant, but one thing your plant won’t be able to ignore is the size of the pot. Size is essentially a proxy for how much nutrients and space will be available for the plant to grow. As the plant reaches new heights, the demand
for nutrients and space increases. While the need for nutrients can be catered to by regular supplementation with fertilizer, there is no other way to give more space for the roots. Large trees that you might have observed on roadsides sometimes also uproot the entire pavement with their roots. When there is not enough space for the roots to grow in the soil, the plant will start looking for whatever little space it gets. Next to a charcoaled road under the brick-paved walkway, there might be a network of roots ten metres deep or more, and the pavement might be limiting the tree’s growth.
When you plant a plant in the ground directly, there are options for it to grow vertically and sideways, but when you grow plants in a pot, space becomes a limitation. As a general rule of thumb, what I recommend for gardeners is to increase the size of the pot in proportion to the size of the plants. However, this relationship is not strictly linear. The method I will share with you is not very scientific but works for home gardeners.
For a <2 feet plant,get a 5-6 ince pot
For a 2-4 feet plant,get a 10-12 inch pot
For a 4-6 feet plant,get a 20-22 inceh pot
For a 6-8 feet plant,get a 26-28 inch pot
For anything larger than 8-10 feet, I recommend growing in soil directly because a pot to support such a huge plant will weigh over several kilograms and moving them around would literally need a mini crane. In such a case, it’s better to move the plant in the ground directly.
Most pots you get in the market are described by their depth. So, an 8-inch pot means a pot with a depth of eight inches, and the diameter will be in proportion to the depth. Also, remember that the plant roots grow both vertically and sideways in the pot, searching not
only for nutrients but also for a better grip on soil to support the plant’s weight above ground.
Apart from leafy and tuberous vegetables, I recommend growing only one plant per pot. Otherwise, the two plants growing together will start competing with each other for resources and end up not growing to their full potential.
2.Pruners and Trimmers
Pruning and trimming means selective removal of parts of the plant, both dead or living, such as branches, stems, buds, flowers, etc. This is important in order to promote the growth and flowering of a plant. Depending on what part of the plant you need to prune and how much power and sharpness that part would require for pruning, you can determine the tool of your choice. There is a whole range of pruners available in the market. Some basic ones useful for a home gardener are as follows:
a. Hand Shear
They can be used to cut any kind of twig or branch, alive or dead, that is up to a thickness of half an inch. It has two blades that can be used for pruning any kind of shrub, such as rose stems, hydrangea stems, etc.
b. Loppers
They are very similar to a hand shear, the only difference being that the blades of a lopper are thicker and the handles are bigger, making them easier to use for a thicker branch/stem (up to 2-3 inches in diameter). They are worth buying if you have a lemon or a banana plant at home.
c. Anvil Pruner
They function like a scissor and are used for removing dead wood. Although their grip is good, they don’t give a clean cut.
d. Bypass Pruner
One blade bypasses the counterblade, giving a clean cut and thereby making it suitable for pruning those parts of the plant which are green and alive. They are not suitable for cutting dead wood.
Alternative: A good sturdy pair of scissors with a comfortable grip can be used for all minor pruning purposes. However, the only limitation is that when we use scissors for cutting thick stems, the blades will spread and not cut through cleanly. In that case, a sharp knife can be used, although one must be careful while using them and preferably wear gloves to protect their fingers. If you have a bunch of plants, getting a good bypass pruner will be a great investment for you.
Other Tools You May Need
For absolute beginner-level gardeners, I recommend investing in a good watering can. They are available in two materials: plastic and metal. I prefer the latter because of their look as they come in a wide range of colours. While buying a watering can, ensure that either it has a long nose or there is a nozzle at the end that spreads water as a fountain.
For gardeners who have graduated from two or three plants to ten or more, investing in gardening gloves would be helpful. They will help protect your hands from prickly plants and keep them clean when you repot your plants. Soil also contains small ticks that are difficult to see with the naked eye, but these insects can bite and cause skin irritation. For such cases, gloves will come in handy as a precaution.
Irrespective of their level, a gardener must have a spraying bottle. A one-litre bottle is good. It will come in handy for any kind of treatment where you have to spray the insecticide/pesticide/neem oil.
Apart from the above, I have not invested my money in anything else as a home gardener. In fact, when I started keeping plants, all I had was a plastic bottle which I used as a watering can, and a pair of scissors. My toolkit has evolved over time, but I still reach out mostly for just the watering can and a good pruner.
Pingback: Plant Basics - plant lover